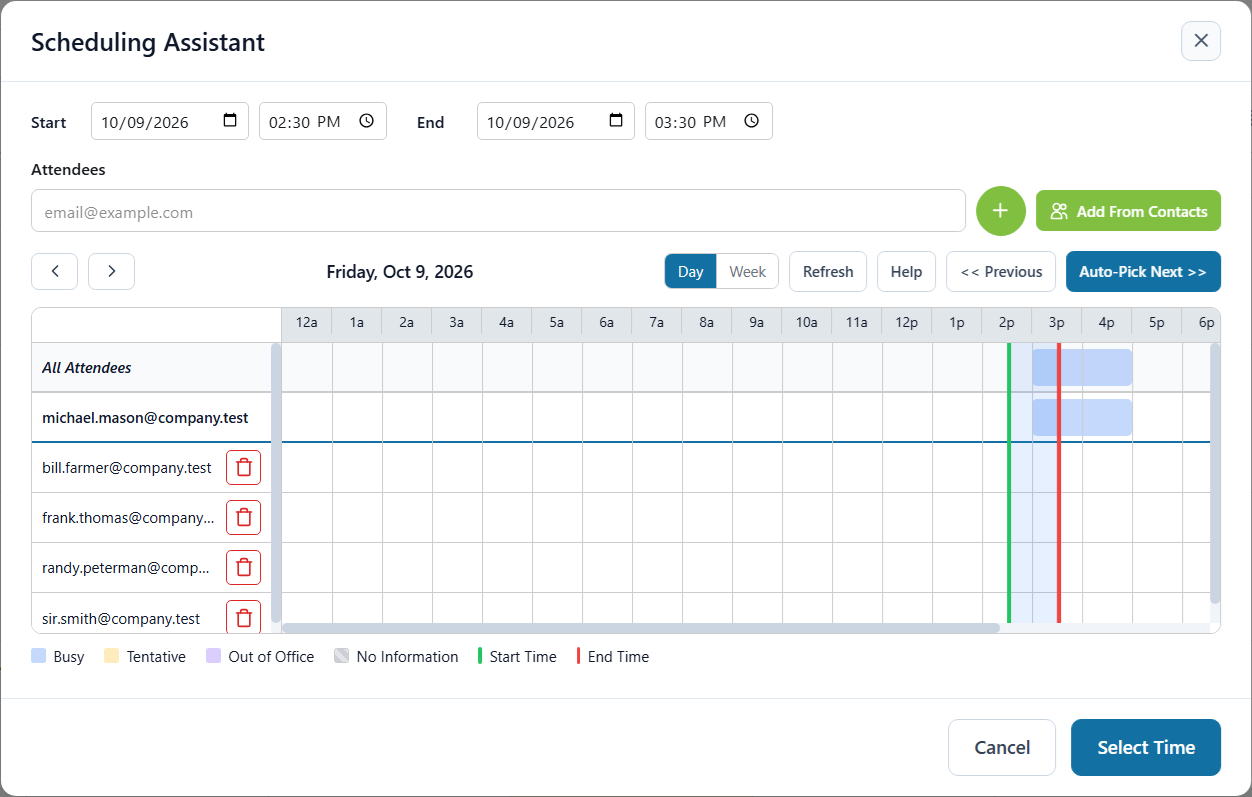
Both themes have a Scheduling Assistant to help you add attendees and find a time slot for your event or meeting that will work for everyone. To open it, click the Attendees tab in the Event editor, and then click Scheduling Assistant (in Pro, click +Add Attendees and then Scheduling Assistant).
Add attendees by typing an email address and clicking Add, or by clicking Add From Contacts. The attendees are listed on the left, and a table on the right displays the schedules for all local attendees (attendees from your domain). The All Attendees row combines everyone's schedules. Each attendee's schedule uses color-coded bars to show whether a time slot is Free, Busy, Tentative, Out of Office, or No Information.
Use the Day and Week buttons to show one day or a whole week, and the arrow buttons to move to earlier or later dates. A green bar and a red bar mark the event's start and end times. You can drag them to change the time, or type a date and time in the start and end boxes at the top of the window.
The Scheduling Assistant isn't available when you edit a single occurrence of a recurring event, because attendees can only be changed for the whole series. To change the attendees, edit the series instead.
Finding the Next Available Time Slot
Set the green and red bars to the length of time you need, and then click Auto-Pick Next. Webmail searches the attendees' schedules and moves the bars to the next time slot that is free for everyone. Click « to search backward from the current time instead. When you have found the right time slot, click Select Time (Save in Pro). This closes the window and returns you to the event with the time and attendees filled in.
See Also
